
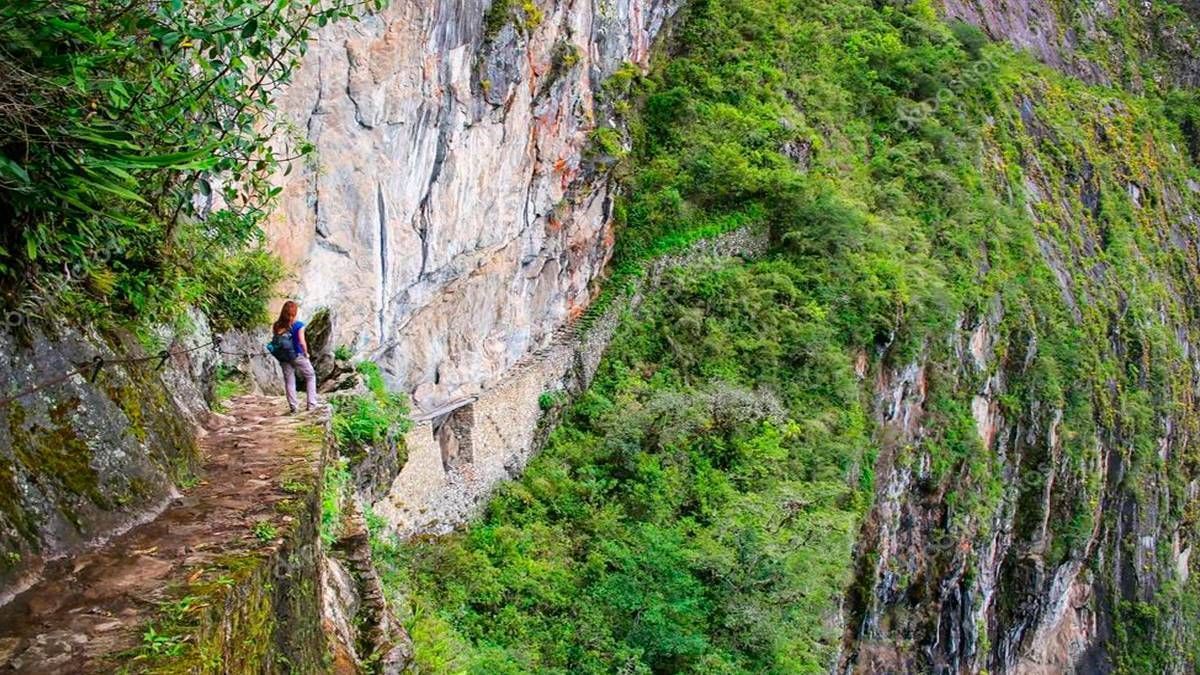
The Inca Bridge of Machu Picchu is the least-known access point within the archaeological site and also one of the most surprising for those who discover it. Built along the vertical wall of a cliff with a drop of several hundred meters toward the Urubamba River, the Inca suspension bridge served as the western strategic access to the citadel: the only passage that connected Machu Picchu with the Antisuyo routes on the valley side without having to go around the entire mountain. Its design allowed it to be closed in a matter of seconds by removing the wooden planks that formed the walkway, turning the access point into an impenetrable vertical rock wall. Route 1D is the circuit that allows visitors to reach this point from inside the archaeological site.
What Route 1D Is and What It Includes
Route 1D is the Machu Picchu ticket circuit that includes access to the trail leading to the Inca Bridge. It is the least requested circuit among all the options available at the site and usually has the greatest ticket availability throughout the year, precisely because most visitors either do not know it exists or do not give it the attention it deserves.
The Route 1D ticket includes access to the main archaeological site plus access to the side trail that leads to the Inca Bridge. Its price is comparable to the standard Route 1B circuit. Since it is the least demanded circuit, its tickets rarely sell out as far in advance as those for Route 1A or Route 1C, making it an accessible option even when purchasing tickets with little notice.
The Inca Bridge: What It Is and Why It Matters
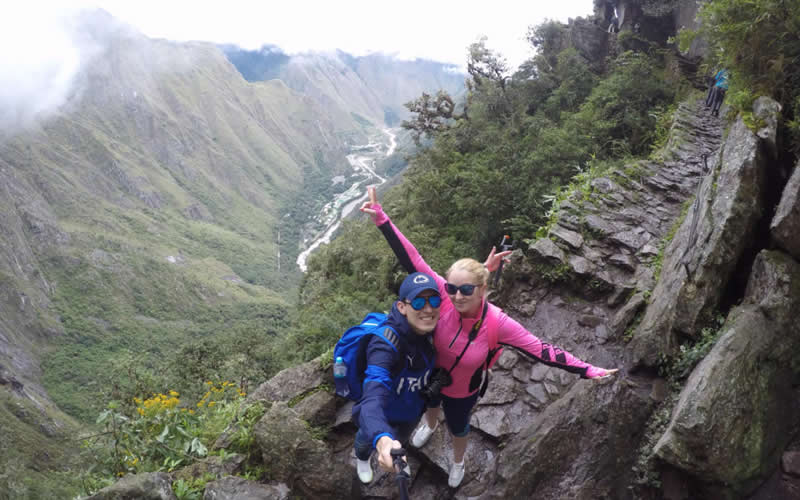
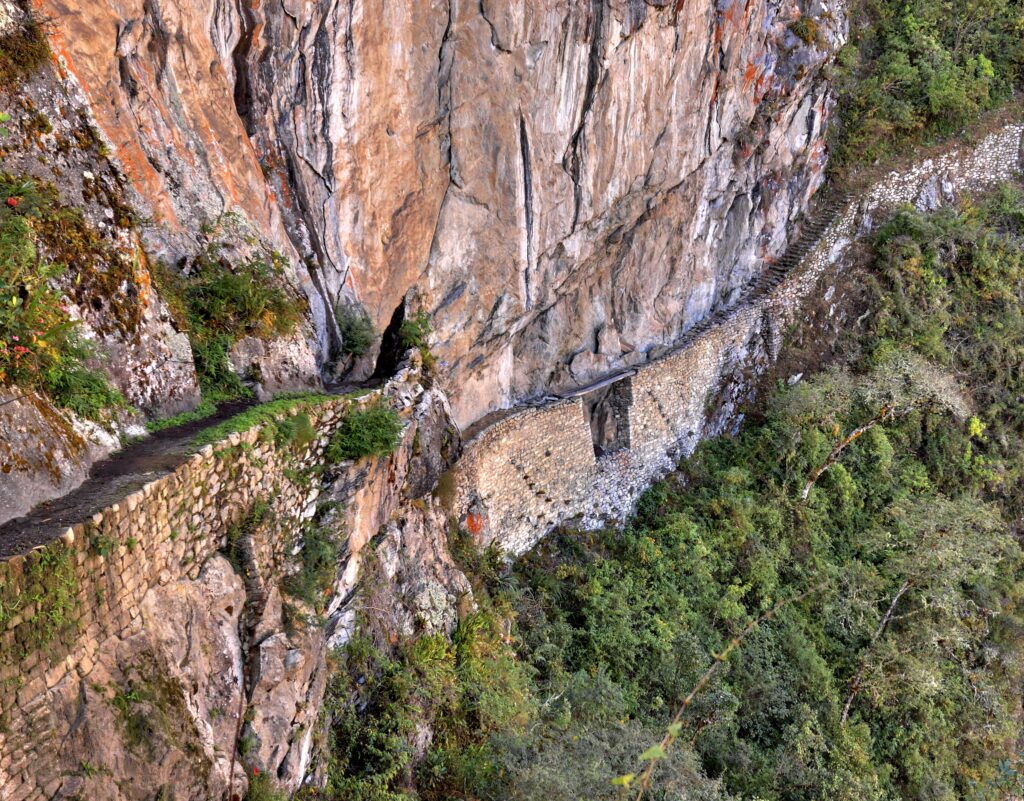
The Inca Bridge, also known as the Hanging Bridge of Machu Picchu or the Drawbridge in English, is an Inca structure built directly into the rock wall of a cliff on the western side of Machu Picchu Mountain. The bridge consists of a series of wooden logs resting on carved stone supports set into the vertical cliff wall, with the empty space of the Urubamba canyon visible directly below.
The strategic function of the bridge was twofold. On one hand, it provided quick access between the citadel and the jungle routes to the east, allowing the movement of troops and supplies along a route that enemies could not easily anticipate or block. On the other hand, removing the wooden planks transformed that access point into a completely impenetrable section of vertical wall within minutes. It was the Inca version of a drawbridge, adapted to the specific topography of the mountain.
The bridge’s current state of conservation shows the original stone structures in good condition, while the wooden logs have been replaced with modern materials for safety reasons. Access to the bridge logs themselves is restricted by a protective barrier installed in front of the structure, from which visitors can get a complete view of the bridge and the cliff without needing to step onto the structure.
The Access Trail: Difficulty and Duration
The trail from the main entrance of the site to the Inca Bridge is approximately one and a half kilometers each way, following a narrow path carved into the rock wall along the western side of the mountain. The elevation gain is moderate: there are some uphill and downhill sections, but no steep climb comparable to Machu Picchu Mountain or the Sun Gate.
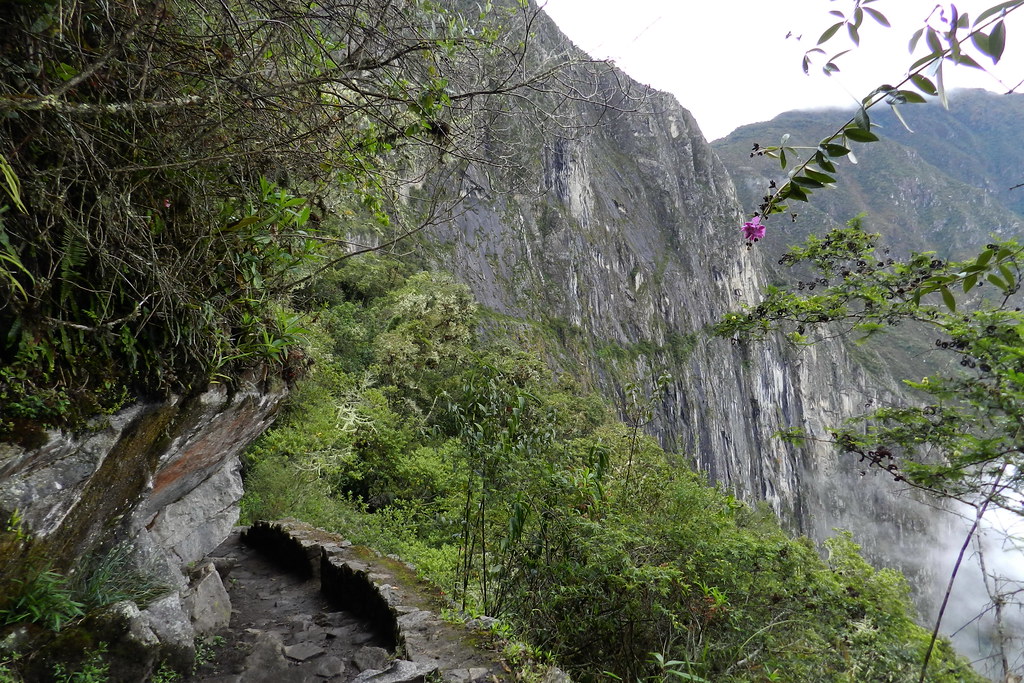
The most notable feature of the trail to the Inca Bridge is not the elevation gain but the exposure. In several sections, the trail runs alongside steep drops toward the valley without railings or side protection. The trail is between one and two meters wide in those areas, making it safe for visitors who walk carefully and without rushing, but it may cause discomfort for people with strong vertigo. This lateral exposure is the most important factor to consider when deciding whether this route is suitable for your profile.
The one-way hike from the site entrance to the Inca Bridge takes between 30 and 45 minutes at a moderate pace. The return walk takes between 25 and 40 minutes. In total, visiting the Inca Bridge, including time to observe and photograph it, requires between one and a half and two hours, which must be added to the time available for the main circuit of the site.
Views from the Trail: What You See Along the Way
The trail to the Inca Bridge is a visual experience in itself and deserves attention regardless of the bridge as the final destination. The route along the western side of the mountain offers perspectives of the archaeological site from angles that no other trail in the complex provides: the citadel seen from the west side, with the layout of the temples and terraces visible in a different way than from the upper viewpoint or from Inti Punku.
The mountain slopes in this sector have denser subtropical vegetation than the eastern side, with ferns, bromeliads, and mosses covering the rock on both sides of the trail. On misty days, this section of the trail has a different atmosphere from the rest of the site, with damp vegetation and rock wrapped in fog, creating an environment that some visitors describe as the most evocative part of the entire citadel.
The Inca Bridge appears almost abruptly at the end of the trail: the path turns, and the structure emerges on the cliff wall with the empty space below in a way that cannot be fully anticipated until you are standing in front of it. That sudden appearance of the bridge over the precipice creates an impression that photographs cannot fully prepare you for.
When It Is Available and Time Restrictions
Access to the Inca Bridge trail from inside the site has time restrictions similar to those of other side trails in the complex. The access point to the trail within the site has an entry checkpoint where park rangers verify that the ticket includes Route 1D. The opening hours of this checkpoint vary depending on the season and the regulations established by the Ministry of Culture for each period, but it usually allows access during the central hours of the day.
Unlike Route 1C to Inti Punku, the Inca Bridge trail does not require coordination with Inca Trail groups, because this trail is not part of the historic route those groups follow. This gives it a wider access window than Route 1C in terms of visitor flow management.
Photography at the Inca Bridge: What You Can Capture and From Where
The Inca Bridge is one of the best photography spots at the site for visitors looking for images that are less conventional than the classic view from the Upper Terrace. The structure of the bridge on the vertical rock wall, with the canyon’s empty space in the background, creates compositions that cannot be captured from the interior viewpoints of the site.
Photos of the bridge are taken from the observation point in front of the protective barrier installed by the Ministry of Culture. It is not possible to access the bridge logs or move beyond that observation point. With a normal or slightly telephoto lens, the full bridge structure, the stone supports on the cliff wall, and the empty space of the canyon can all fit into the frame from that point.
Afternoon light, when the sun begins to illuminate the western side of the mountain, creates the best lighting conditions for photographing the bridge. In the early morning, this side is in shadow, and the light is less favorable for capturing the details of the structure. For visitors with an afternoon ticket who want high-quality photos of the bridge, this can be the strongest reason to choose that time slot.
Who Route 1D Is Best For and Who Should Avoid It
Route 1D is especially recommended for visitors interested in the lesser-known aspects of Inca architecture and engineering, for photographers looking for images of the site beyond the standard circuit, and for those who have already visited the interior circuit on a previous trip and want to explore the side access routes on a second visit.
It also makes sense as a complement to the standard circuit for visitors who have enough time inside the site and good physical condition to add the extra one and a half kilometers each way without feeling overly tired.
It is not suitable for visitors with strong vertigo, because the trail includes sections with lateral exposure and no protection, which can cause real discomfort for people with that sensitivity. It is also not recommended for very short visits of less than two hours inside the site, where there is not enough time to combine the interior circuit with the additional walk to the bridge. And it is not the best choice for a first visit to Machu Picchu if the goal is to see the main sectors of the archaeological complex: for that profile, Route 1B offers better coverage of the site’s most important historical and architectural areas.
The Smartest Combination: Route 1B Plus a Visit to the Inca Bridge
For visitors who have four or more hours inside the site, combining the full interior circuit of Route 1B with the walk to the Inca Bridge creates the most varied experience available without the physical demand of climbing Machu Picchu Mountain. Route 1B covers the interior of the archaeological complex in depth. The visit to the Inca Bridge adds access to the western side, with its lateral perspectives of the site and the bridge as a specific destination.
To do this combination correctly, the most efficient order is to complete the interior circuit of Route 1B first and visit the Inca Bridge at the end, when the sun is already illuminating the western side. This order optimizes both the content of the visit and the lighting conditions for photography at each point.
Do you want to include the Inca Bridge in your Machu Picchu itinerary, or do you need guidance on which circuit best fits the time you have available? At Incredible Peru Tours, we manage tickets for each circuit of the site with the most suitable schedule for each group’s itinerary. Send us your travel dates, and we will prepare the best proposal for you.


