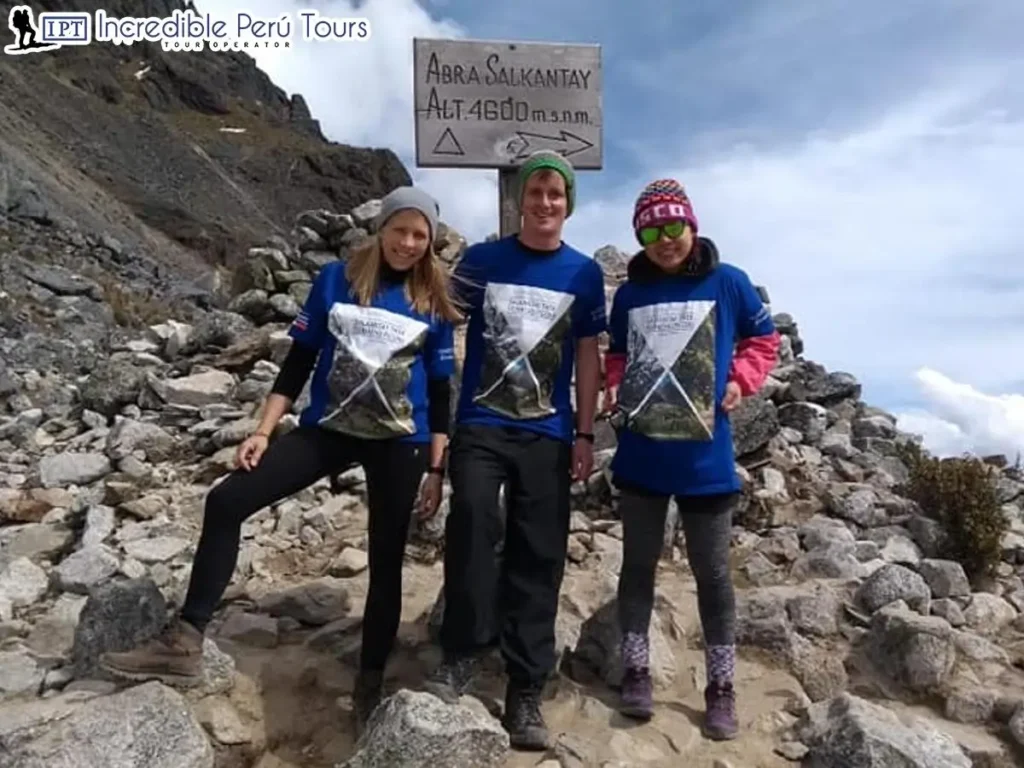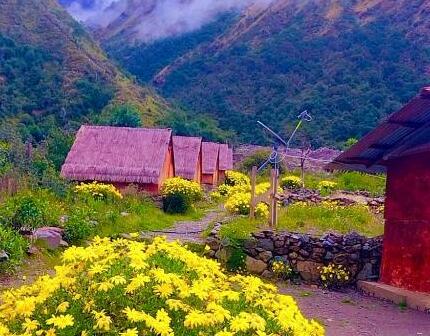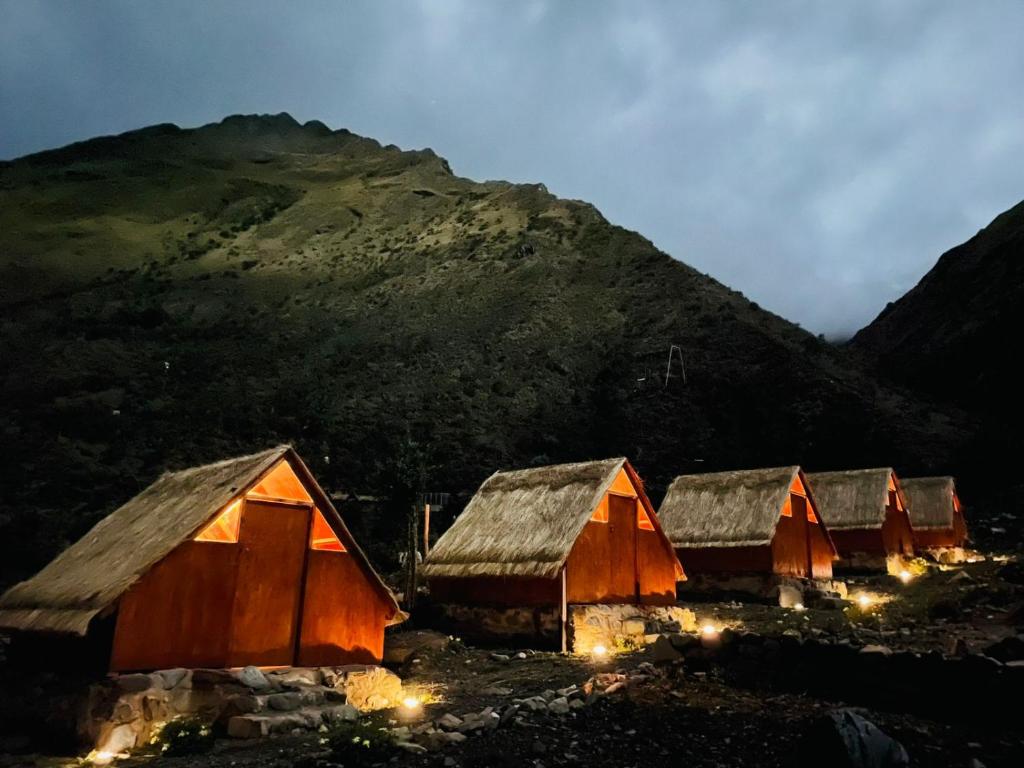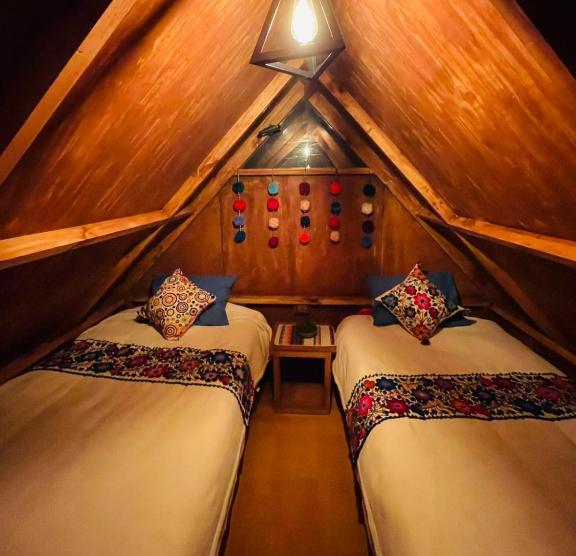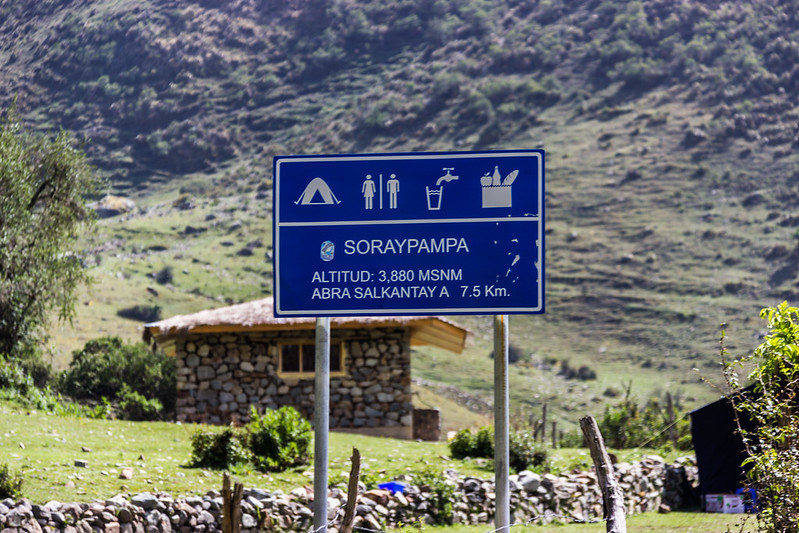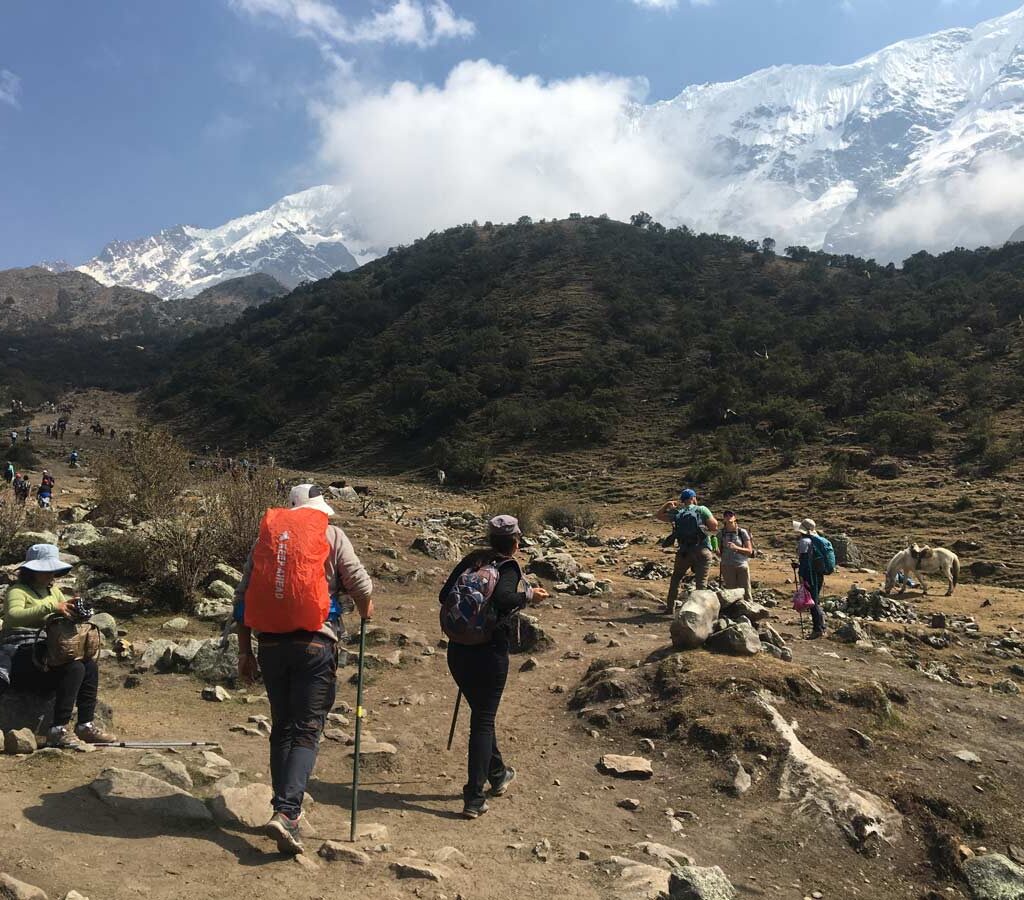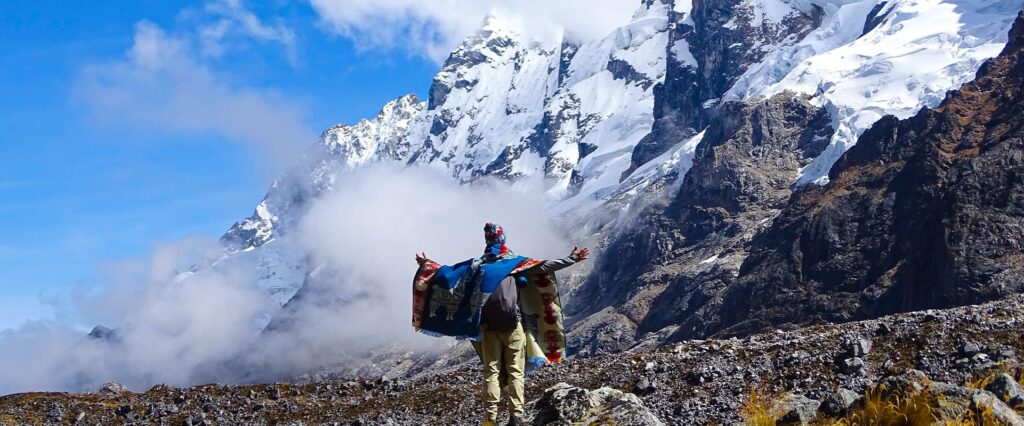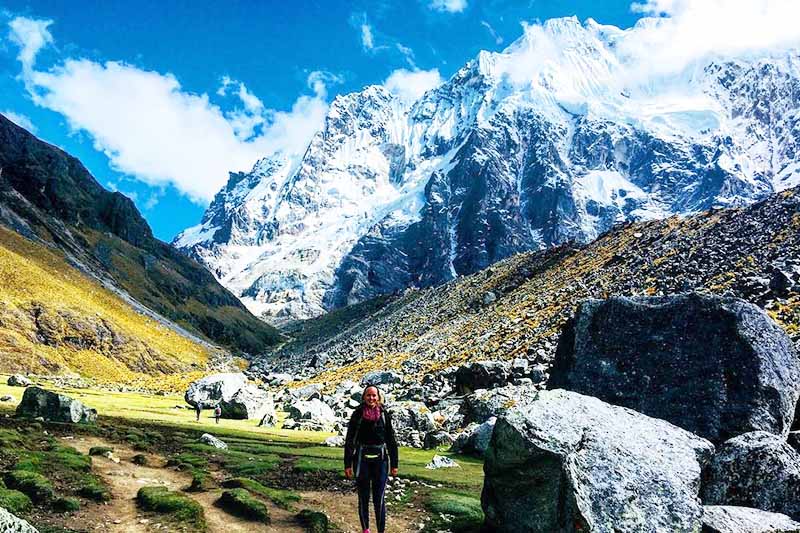
The Salkantay Trek crosses through five days of temperatures that can range from several degrees below freezing at the Soraypampa base camp to over seventy-seven degrees Fahrenheit in the valleys of Santa Teresa. That extreme variation is what makes preparing the right gear for this route more demanding than for most treks in the region: you cannot bring clothing for just one type of weather because the route goes through all of them at once.
The following list is not designed for someone who wants to carry only the bare minimum or for someone who wants to be prepared for every imaginable situation. It is designed for the balance point between weight and functionality that allows you to complete the five days in real comfort without turning your backpack into an extra burden on top of the physical effort of the trek. Every item listed has a reason to be there.
The layering system: why it is the key to everything
Before getting into the list, it helps to understand the principle that organizes the entire clothing strategy for the Salkantay Trek. The layering system works with three overlapping levels that are added or removed depending on the temperature and activity level: a base layer against the skin, a mid-layer for insulation, and an outer layer for protection from wind and rain.
The base layer is the most important and the most overlooked. Its job is to pull moisture away from the skin and dry quickly to prevent evaporative cooling from causing heat loss in the high-mountain sections. Cotton does not do that: it absorbs sweat and keeps it against the skin, which on the second day of the Salkantay Trek, when the climb to the pass causes heavy sweating that later cools in the wind, can create a genuinely uncomfortable thermal situation. Merino wool and quick-drying synthetic fibers are the only valid options for this layer.
The mid-layer provides insulation: a medium-weight fleece or a lightweight down jacket that traps body heat during periods of lower activity, in windy sections, and during nights at camp. The outer layer, waterproof and windproof, handles the changing weather conditions of the high mountains: rain, hail, and the wind at the pass, which can be very strong at Salkantay Pass.
Having these three layers ready for the second day and knowing when to use each one is what determines your comfort level on the coldest and most demanding part of the route.
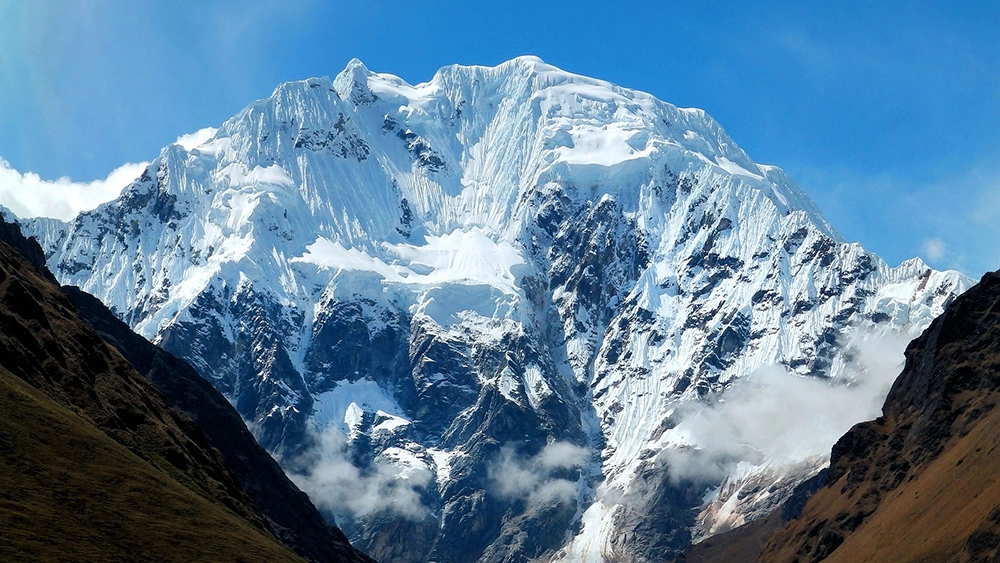
Clothing: specific items for each part of the route
Quick-drying technical shirts: At least three for five days. Synthetic fabric or merino wool against the skin is essential on every day of the trek. Do not bring any cotton clothing for the hiking sections.
Quick-drying hiking pants: One or two pairs of technical pants made from fabric that dries within a few hours. Some models have zip-off legs that let you turn them into shorts for the warm sections on the third and fourth days, which reduces the number of items you need.
Technical underwear: Two or three pairs in synthetic or merino fabric. Just like with shirts, cotton underwear causes prolonged discomfort when there is moisture from sweating.
Medium-weight merino wool socks: At least three pairs for five days. They are the essential companion to hiking footwear and the first line of defense against blisters. Cotton socks are ruled out for the same reasons as cotton in the rest of your clothing.
Insulating mid-layer: A medium-weight fleece or a lightweight down jacket is enough for most nights on the trek. At the Soraypampa camp and when crossing the pass, that layer is essential. In the lower valleys on the third and fourth days, it may not be needed during the day but is still useful at night.
Waterproof and windproof jacket: The one item that cannot be left out on any day of the trek. A waterproof, breathable shell that protects you from the wind at the pass, the rain in the lower valleys, and the early-morning moisture in densely vegetated sections. It is not replaceable with a plastic poncho for a five-day trek with such variable weather conditions.
Waterproof pants or gaiters: For sections with heavy rain or muddy trails during the wet season. Optional in the dry season but recommended if you are traveling during the shoulder months.
Wool or fleece hat: Essential for nights at camp and for crossing the pass. Cold at the highest points affects the extremities and the head first, and a proper hat has an outsized thermal impact relative to its weight and size.
Light gloves: For dawn on the second day and for crossing the pass. High-mountain gloves are not necessary, but exposed hands at the pass in strong wind get cold very quickly.
Swimsuit: For the Cocalmayo hot springs in Santa Teresa at the end of the third day. It is one of the most appreciated moments of the trek, and arriving without a swimsuit is one of those oversights people specifically regret.
Comfortable camp clothes: A set of rest clothes for the nights, different from what you wear while hiking. Sweatpants and an extra T-shirt do the job.
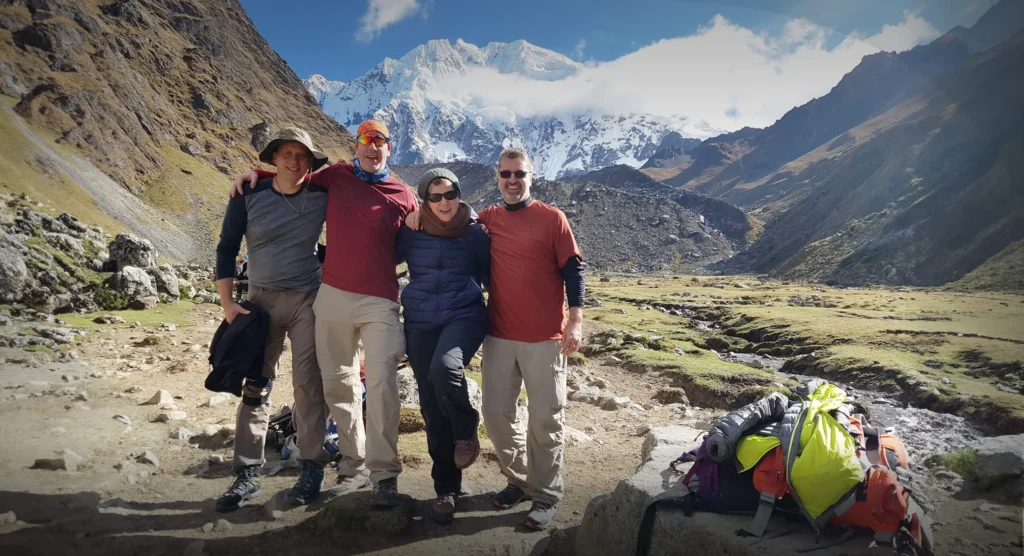
Footwear: the most important gear decision
Waterproof hiking boots with grippy soles: The most critical piece of gear in the entire setup. They should have a mid or high cut to support the ankle on the descents of the second and third days, a waterproof membrane for wet sections, and a sole with deep lug patterns for mud and wet rock. The most important thing is that they must be well broken in before the trek: wearing brand-new boots on the Salkantay Trek is a mistake that causes blisters from day one.
Light sandals or flip-flops: For camp and for the Cocalmayo hot springs. Your feet will appreciate getting out of your boots once you reach camp, and having some kind of comfortable camp footwear has real value after hours of hiking.
Technical gear: what goes in your daypack
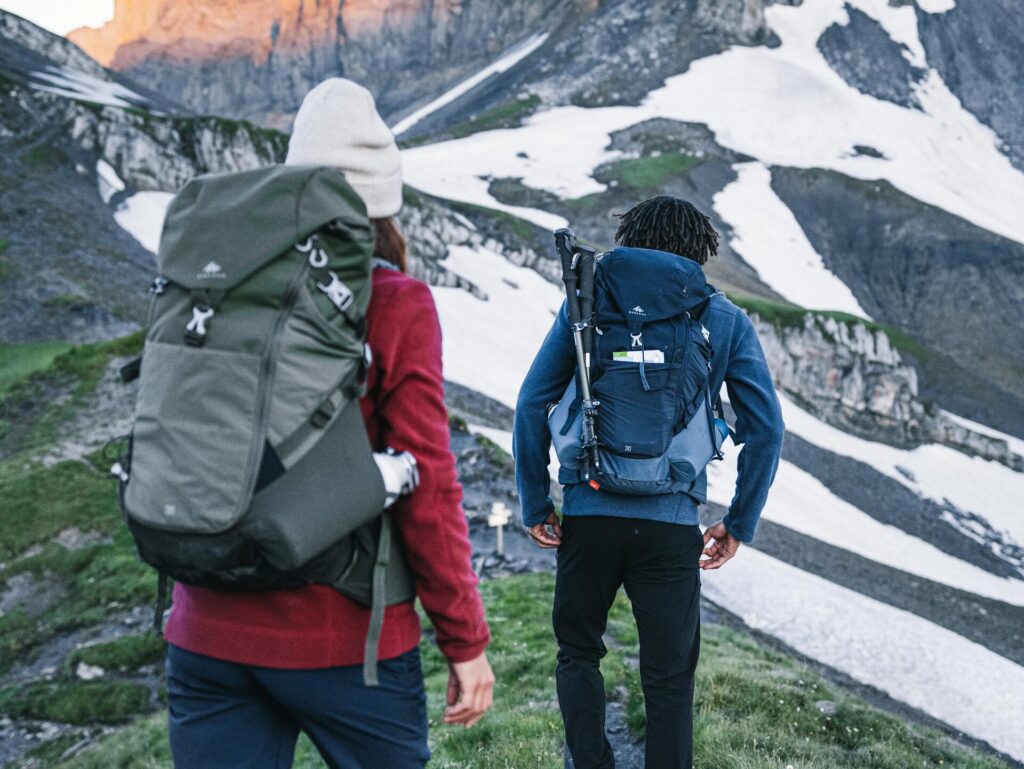
Daypack of 20 to 30 liters: The personal backpack you carry during the hike. The camp gear, food, and tents are carried by porters, so the daypack only needs to hold what you use during the hiking hours: water, warm clothing, documents, a first-aid kit, a camera, and snacks.
Waterproof backpack cover: For rainy sections and for areas with dense wet vegetation. Your camera, phone, and documents should be protected from moisture at all times.
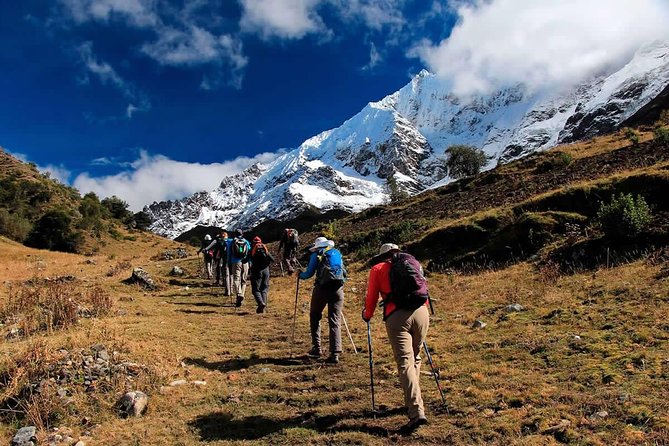
Trekking poles: They are not optional on the Salkantay Trek if you want to do it properly. The descents on the second and third days create the most impact on the knees, and trekking poles distribute that impact to the arms in a way that significantly reduces joint stress on long downhill sections.
Headlamp with spare batteries: For the pre-dawn departure on the second day. The nighttime hike to Salkantay Pass with your headlamp on while the sky starts to brighten is one of the most memorable moments of the trek. Without a headlamp, that section is not practical.
Water bottle of at least one liter: Or a hydration system such as a reservoir. Hydration at high altitude is critical, and you need to drink before you feel thirsty to avoid dehydration, which makes altitude sickness symptoms worse.
Water purification tablets or a filter: For refilling at springs and streams along the way. Mountain water in the Salkantay area is generally clean, but purification is a sensible precaution.
High-SPF sunscreen: In the high mountains, UV radiation is significantly more intense than at sea level. The second-day sections, especially the climb to the pass, expose your skin for hours in strong radiation. SPF 50 at a minimum, with reapplication every two hours.
Sunglasses with UV protection: Essential in the sunniest sections of the second day. At the pass, the reflection of the sun on the glacier can create intense glare without proper protection.
Lip balm with sunscreen: Lips dry out quickly at high altitude because of the combination of low humidity, wind, and radiation. It is a small detail with a real impact on comfort during the second and third days.
Personal first-aid kit: the basics you cannot leave behind
Pain reliever and fever reducer: Acetaminophen or ibuprofen for altitude-related headaches, one of the most common symptoms during the first days of the trek.
Hydrocolloid blister bandages: Applying them the moment you feel a pressure point, before the blister forms, is much more effective than treating the injury once it has already developed. Four or five bandages in different sizes are enough.
Anti-diarrheal and antacid: Changes in diet and altitude can affect your digestive system in the first days. Having these medications available prevents a minor issue from turning into a real problem on the trek.
Personal daily medication: Bring enough for the five days plus some extra in case of unexpected delays on the return.
Kinesiology tape or elastic bandage: For stabilizing an ankle or knee in case of minor joint discomfort during the trek. It does not replace medical care, but it can make the difference between finishing the day or not.
Documents and personal items
Original passport: Required for access control at the Machu Picchu archaeological site on the last day. A photocopy is not valid as a substitute at the site checkpoints.
Machu Picchu ticket: Printed or downloaded to your phone with offline access, because the signal in Aguas Calientes and at the site entrances is not always reliable.
Cash in soles: For small expenses in the villages along the way and for tips for the guides and porters at the end of the trek. There are no ATMs along the route, and in Aguas Calientes their availability is not always reliable.
Travel insurance with high-altitude trekking coverage: It is not a physical item in your backpack, but it is something that should be taken care of before leaving Cusco. Emergency evacuation coverage in remote areas and medical assistance with no altitude limit are necessary for any high-mountain trek in the region.
What you do not need to bring
The full camping gear, including tents, sleeping pads, cooking equipment, and food, is carried by porters. The person doing the trek does not need to carry any of that in their daypack.
Physical books and electronic entertainment devices take up space and add weight your body will appreciate not carrying for eight hours. A charged phone with offline content serves that purpose with minimal weight.
Excess “just in case” clothing is the most common packing mistake for this type of trek. The most useful rule is this: if you cannot clearly identify at what point on the route you are going to need a certain item, you probably do not need to bring it.
Do you have questions about the specific gear for your group, or do you want to know what the agency provides and what you need to bring yourself? At Incredible Peru Tours, we send every group a detailed, personalized packing list before confirming the booking, and we answer any questions about the gear before departure.